Renovating your kitchen is an exciting venture, whether you’re updating the space for aesthetic reasons, fixing worn-out surfaces, or preparing for new appliances. One common task during a renovation is removing the existing countertop.
While it may sound daunting, removing a kitchen countertop can be a manageable DIY project with the right tools, preparation, and guidance. This detailed guide will walk you through every step of the process, from gathering tools to safely disposing of the old countertop.
So, roll up your sleeves, and let’s get ready to remove your kitchen countertop!
Learn more: How to Achieve a Timeless Transitional Kitchen Look
Why You Need to Remove Your Kitchen Countertop?
There are several reasons you might need to remove your kitchen countertop. Perhaps you want to replace an outdated laminate top with sleek granite, or maybe you’re switching to a more modern, minimalist design. Removing a kitchen countertop may also be necessary if it’s damaged, stained, or cracked beyond repair.
Sometimes, homeowners even remove the countertop to install additional appliances like dishwashers or to adjust the layout of their kitchen. Whatever your reason, understanding how to do this properly will save you time, money, and potential headaches.
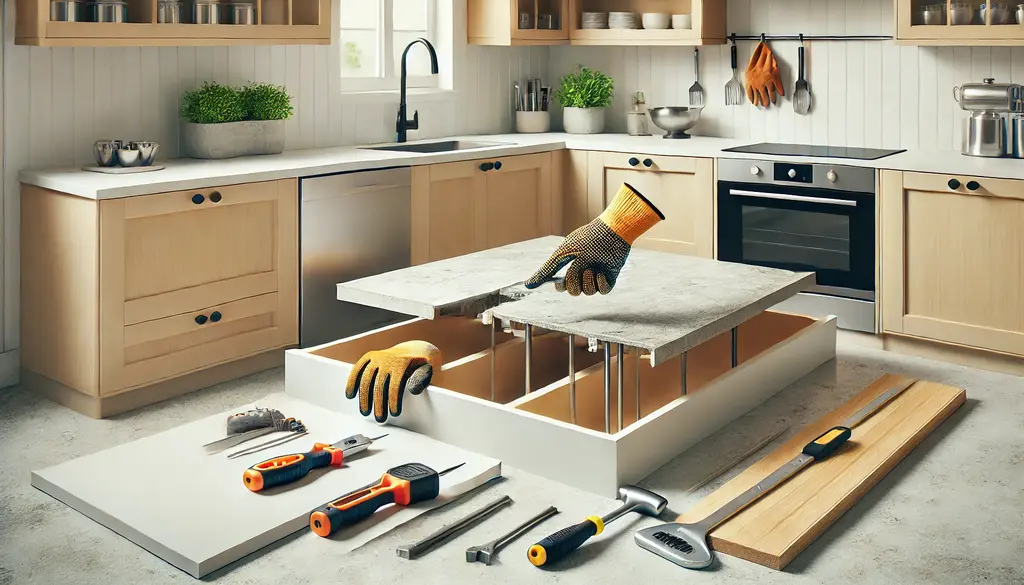
Tools and Materials You Will Need
Before starting, gather all the necessary tools and materials. Having everything prepared ensures a smoother process without unnecessary interruptions. For this project, you will need:
- Tools: Screwdriver, adjustable wrench, utility knife, putty knife or pry bar, drill, hammer, and gloves.
- Materials: Adhesive remover (optional), tape, plastic sheets, and safety goggles.
Safety First: Precautions Before You Begin
Before diving into the project, it’s crucial to take certain safety precautions. Removing a kitchen countertop involves sharp tools, heavy lifting, and, in some cases, exposure to plumbing or electrical connections. To protect yourself, ensure you:
- Turn Off Utilities: If your countertop involves plumbing fixtures or electrical outlets, turn off the water and electricity. This prevents accidents and makes the process safer.
- Wear Safety Gear: Wear protective gloves and safety goggles. This will protect your hands from sharp edges and prevent dust or debris from getting into your eyes.
- Clear the Workspace: Remove everything from the countertop and surrounding areas. Use plastic sheets to cover appliances and the floor, protecting them from potential damage during the removal process.
Step-by-Step Guide to Removing a Kitchen Countertop
Here is our step-by-step guide to removing a kitchen countertop:
Step 1: Gather Supplies
The most important part of removing a countertop is to collect all the necessary gadgets. When you have all the necessary resources it won’t take much time to remove it otherwise you have to take pauses to get the resource when you need it during the removal process. Take a few minutes before getting to work to ensure you have the following items:
- Wrench
- Gloves
- Chisel
- Goggles
- Putty knife
- Bucket
- Box cutter
- Caulk softener
- Screwdriver
- Hard hat
- Pry bar
- Reciprocating saw
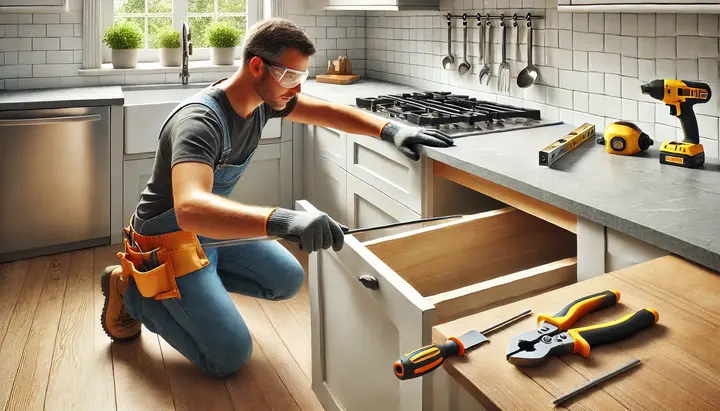
Step 2: Clear the Area of Obstructions
Before initiating the process of removing the countertop you have to remove all the appliances and accessories from your work area.
Moreover, remove the drawers and items stored in the shelves to prevent dust contamination. These contaminations in the form of dust, wood chips, broken pieces of caulk, tiny bits of drywall can land on your plates, utensils, towels, or anything stored inside the cabinets.
So removing the drawers and emptying the lower shelves keeps your items clean and safe. In addition to it, clearance of area gives you easy access to the countertop, too.
Step 3: Disconnect Supply Lines to Countertop Fixtures
Before removing a countertop you have to cuff off all the connections which are supplying water, electricity, and gas to gadgets of the countertop:
First of all, turn off the gas line to your stove. This cuts off the supply of gas to your stove and It is a safety step to prevent fire or unsafe fumes.
To cut off the supply of gas, turn the valve near the pipe 90 degrees or perpendicular to the pipe.
Secondly, turn off the power to electrical outlets near the countertop because they can be risky during countertop removal. So you must turn them off carefully. To switch off the electrical outlets go to your breaker box that is the electrical panel in your house. Find the switch for the kitchen. Turn that switch OFF
You can also put tape or covers on the outlets for extra safety.
Thirdly, disconnect water, drain pipes, and garbage disposal. If your countertop has a sink, you must disconnect water lines, drain pipes, and garbage disposal connected to countertop
Lastly, Put a bucket under the sink pipes. When you disconnect the pipes, leftover water will drip out. To avoid a mess, you put a bucket under the pipes to catch leftover water, dirt, and small food bits. This keeps your floor clean.
Step 4: Remove the Sink
After you disconnect all the water pipes, you need to take the sink out of the countertop. The sink is usually held in place with screws, clips, and strong glue.
Once you have disconnected all the extensions of the sink, the next step is the removal of the sink. Sink is usually attached or fitted inside the countertop with the help of screws, clips, and strong glue.
Under the sink, there are small clips or screws that keep the sink attached to the countertop. You have to remove these screws and clips to lose it.
A sink is usually stuck tightly to the counter with glue or caulk. Use a putty knife to gently scratch between the sink and the countertop. This removes the glue and loosen the sink without breaking anything.
Sometimes the old caulk or glue becomes very hard. A “caulk softener” spray helps make that glue softer so the sink can lift out more easily. It’s like spraying water on dried mud.
When the sink is fully loose, someone gently lifts it out of the hole in the countertop. They need to be careful so they don’t crack the sink or damage the counter around it.
Step 5: Cut Through Sealant or Adhesive
The countertop is usually glued to the wall and the cabinets. This glue is called sealant, adhesive, or caulk. Gently break the glue line so the countertop can come loose. This makes it easier to lift the countertop later.
Countertops are also held down with hidden screws, too. These screws prevent the countertop from moving. So, to remove the countertop, look underneath it, find the screws holding it, and remove those screws. Once the screws are out, the countertop becomes loose.
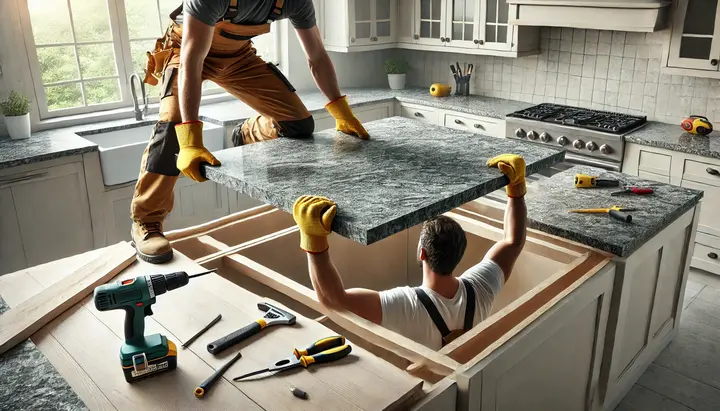
Step 6: Pry and Remove the Countertop Away from the Cabinets
After the glue is loosened and screws are removed, lift the edges of the countertop to separate it from the cabinets. Some countertops (like granite or concrete) are very heavy, so two or more adults are needed. If the countertop is too big or too heavy, you can cut it into smaller, easier pieces before taking it out.
How to Remove Different Types of Countertops?
Not all countertops are created equal. The removal process may vary slightly depending on the material and type of installation. Here’s how to handle the most common types:
Removing Laminate Countertops
Laminate countertops are relatively easy to remove as they are usually lightweight and secured with simple adhesive or screws. Start by cutting through the adhesive or caulk, then unscrew and gently lift the countertop off.
Since laminate countertops are often in one large piece, take care when handling them to avoid bending or cracking.
Removing Granite or Quartz Countertops
Granite, quartz, and other stone countertops are heavier and more fragile than laminate. They can easily crack or chip if not handled correctly, so extra care is needed.
These countertops are often held in place with a strong adhesive, so cutting through it will require a sharp utility knife and some patience. Make sure to get help when lifting, as the weight can be too much for one person.
Removing Tile Countertops
Tile countertops can be tricky because each tile is individually attached with grout and adhesive. To remove a tile countertop, you may need to break the tiles off using a hammer and chisel.
This process can get messy, so be prepared for some cleanup. Once the tiles are removed, you can access the countertop substrate and follow the standard removal procedure.
Cleaning Up After Removal
After the countertop is successfully removed, the next step is to clean up the area. Use an adhesive remover or warm soapy water to clean any leftover sealant or adhesive residue. Sweep up any debris and dispose of the old countertop material properly.
You might need to rent a small dumpster or take a trip to a local recycling facility, depending on your municipality’s waste disposal guidelines. If the countertop is still in good condition, consider donating it to a local charity or repurposing it for another project.
Tips for Making the Process Easier
- Label Plumbing and Electrical Connections: When disconnecting pipes or electrical wires, label them to make reconnection easier later.
- Work Methodically: Follow the steps carefully and don’t rush. Going slowly will help you avoid accidents and damage to your cabinets or walls.
- Seek Help for Heavy Countertops: Lifting a granite or concrete countertop on your own can be dangerous. Don’t hesitate to ask a friend for assistance.
Conclusion
Removing a kitchen countertop is a project that requires some preparation, patience, and a little bit of elbow grease. However, with this comprehensive guide, you should feel confident tackling this task on your own.
By following the steps outlined above, you can remove your old countertop without causing damage to your cabinets or kitchen.
Whether you’re planning to install a new countertop, refurbish the space, or make repairs, knowing how to remove the old one is an essential skill.
Frequently Asked Questions (FAQs)
Common FAQs:
Q1: How Long Does It Take to Remove Your Kitchen Countertop?
The time it takes can vary depending on the type of countertop, your experience level, and how it is installed. For a standard laminate countertop, the process might take a couple of hours. For granite or tile countertops, it could take significantly longer.
Q2: Can I Reuse My Old Countertop?
Yes, if the countertop is in good condition and you’re careful during the removal process, you can reuse it. Some materials, like wood and laminate, can be refinished and repurposed.
Q3: Should I Hire a Professional?
For heavier or more complex countertop installations, such as granite or custom-built designs, hiring a professional might be the best option. They have the experience and equipment to remove the countertop safely and efficiently.