The integrity of a roof relies on more than just the shingles and underlayment—it depends heavily on the type of nails used. Whether you’re a contractor or a homeowner considering roofing maintenance or installation, understanding the importance of roofing nails is essential.
This guide explains everything you need to know about roofing nails, helping you make informed decisions about your roofing projects.
Why Choosing the Right Roofing Nails Matters?
Roofing nails are often overlooked, but they are the backbone of a durable roof. When installed correctly, they secure shingles to the roof and provide resistance against wind, water, and other external elements.
Using the wrong nails or improper installation can lead to several problems, such as shingles loosening, water leaks, and even roof failure. Therefore, selecting the right nails not only extends the life of your roof but also saves you from costly repairs down the road.
Choosing the right roofing nails is the first step in ensuring long-term durability if you’re aiming for a high-performance, weather-resistant roof.
Types of Roofing Nails
Not all roofing nails are created equal. Different types are designed for other roofing materials and conditions. The two most common roofing nail types used for shingles are smooth shank and ring-shank nails. Smooth-shank nails are typically easier to drive in and are commonly used, but ring-shank nails offer superior holding power, especially in areas prone to high winds.
The rings on the shaft provide extra grip, making them ideal for securing shingles in place, even under extreme weather conditions. This is especially important in areas that face storms or high winds regularly.
Additionally, square-cap nails and round-cap nails are often used for securing underlayment. While these aren’t used to attach shingles, their large caps help hold the underlayment in place during installation, preventing it from tearing or shifting.
Materials Used for Roofing Nails
The material of the roofing nails is just as crucial as the type. Common materials include galvanized steel, aluminum, copper, and stainless steel.
- Galvanized steel nails are the most widely used for asphalt shingles due to their durability and resistance to corrosion. These nails come in two forms: hot-dipped galvanized, which provides a thicker coating of zinc and higher corrosion resistance, and electro-galvanized, which has a thinner coating but is still effective.
- Aluminum nails are lightweight and resistant to rust, but they may not be suitable for coastal areas where salt spray can degrade the metal over time.
- Copper nails are often used with more premium roofing materials like clay or tile, offering long-term durability, though they come at a higher price.
- Stainless steel nails are ideal for coastal areas or regions with high moisture levels, as they are highly resistant to rust and corrosion.
Choosing the right material for your roofing nails depends on the environmental conditions and the type of shingles or other roofing materials you’re using.
Nail Length, Size, and Gauge Recommendations
When it comes to roofing nails, size does matter. The standard length of a roofing nail ranges from 1 to 2 inches, depending on the thickness of the shingles and the roof decking. Ideally, nails should penetrate the shingles and go at least ¾ inch into the decking.
For thicker shingles, such as designer or premium shingles, you may need longer nails to ensure they are adequately secured. Some areas of the roof, like the ridge caps and ventilation accessories, may also require longer nails due to the extra layers of material.
The gauge of the nails is equally important. Most roofing nails range between 10 to 12 gauge, with thicker nails providing more durability and holding power. The head of the nail should be around 3/8″ to 7/16″ in diameter to ensure it can properly secure the shingles without tearing them.
Proper Installation of Roofing Nails
Correct installation of roofing nails can be the difference between a roof that lasts decades and one that fails prematurely. The industry standard recommends four nails per shingle, though some shingles may require up to six nails, especially in high-wind areas.
It’s important to drive the nails at a 90-degree angle to the roof’s surface to ensure maximum hold. Angled nails, or nails that are driven too far or not far enough, can cause issues like shingles lifting, leaking, or even blow-offs in high winds.
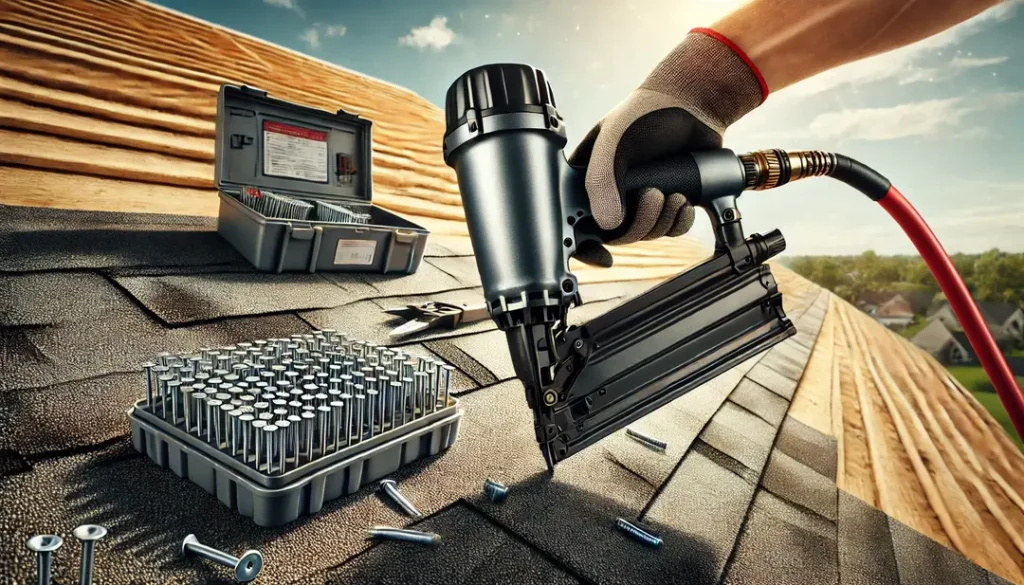
A common question for those installing shingles is whether to use a hand-driven hammer or a pneumatic nail gun. While a hammer gives you better control over nail placement, a pneumatic nailer is much faster and reduces physical strain.
However, care must be taken to avoid overdriving or underdriving the nails, which can compromise the integrity of the roof.
Common Mistakes and How to Avoid Them
Roofing is a precision job, and even small mistakes can have big consequences. One of the most common mistakes is overdriving nails. When nails are driven too deep, they can break through the shingle material, leaving it vulnerable to water penetration and reducing its wind resistance.
On the other hand, underdriving nails mean they don’t fully penetrate the decking, which can cause shingles to become loose or even fall off.
Another frequent error is using the wrong type of nail for the roofing material or the region’s weather conditions. For example, using smooth-shank nails in a high-wind area could result in the nails pulling out under stress, leading to roof damage.
High-Wind Zones and Building Code Considerations
In regions prone to high winds, it’s critical to follow local building codes regarding roofing nails. Many codes require the use of ring-shank nails, which offer better-holding power than smooth-shank nails.
Additionally, high-wind areas may require six nails per shingle instead of the standard four. Some shingle manufacturers even provide enhanced warranties if you follow their specific nailing guidelines, including the type and number of nails used.
For example, certain shingles may be covered under warranties for winds up to 130 mph if installed with six nails per shingle.
Choosing the Best Roofing Nails for Your Project
Choosing the right roofing nails is about more than just picking up the first box you see. You need to consider the type, material, size, and even the environmental conditions of your area. Whether you’re a DIY enthusiast or hiring a professional, using the right nails can significantly affect the lifespan and durability of your roof.
Always ensure you’re using nails that meet local building codes and the manufacturer’s recommendations to get the best possible performance from your roofing materials.
By understanding the different types of roofing nails, the materials they’re made from, and the proper installation techniques, you can ensure that your roof remains strong, secure, and weather-resistant for years to come.